
Planning an Outdoor Kitchen That Gets Used All Year
Outdoor kitchens rarely fail in the construction. They fail in the planning: a grill placed where smoke rolls into the seating, counters with no landing space for a hot pan, a fridge that dies its first winter, no light to cook by in October. The backyard showpiece quietly becomes a place to store the cover.
The good news is that every one of those mistakes is avoidable on paper, before a single block is laid. Here is how to plan an outdoor kitchen around Winchester that earns its budget for a decade.
How Do You Plan an Outdoor Kitchen?
Plan an outdoor kitchen by starting with how you cook and host, then designing four zones: a hot zone for the grill and burners, a cold zone for refrigeration and prep, a wet zone if you add a sink, and a dry zone for storage and serving. Run gas, electric, and water before any counters are built, choose outdoor rated appliances, and put the whole kitchen close to the indoor one.
Design decides whether the space gets used every week or twice a summer. The zones, the utilities, and the roof over it matter more than any single appliance.
Map the Zones Before Any Stone Is Laid
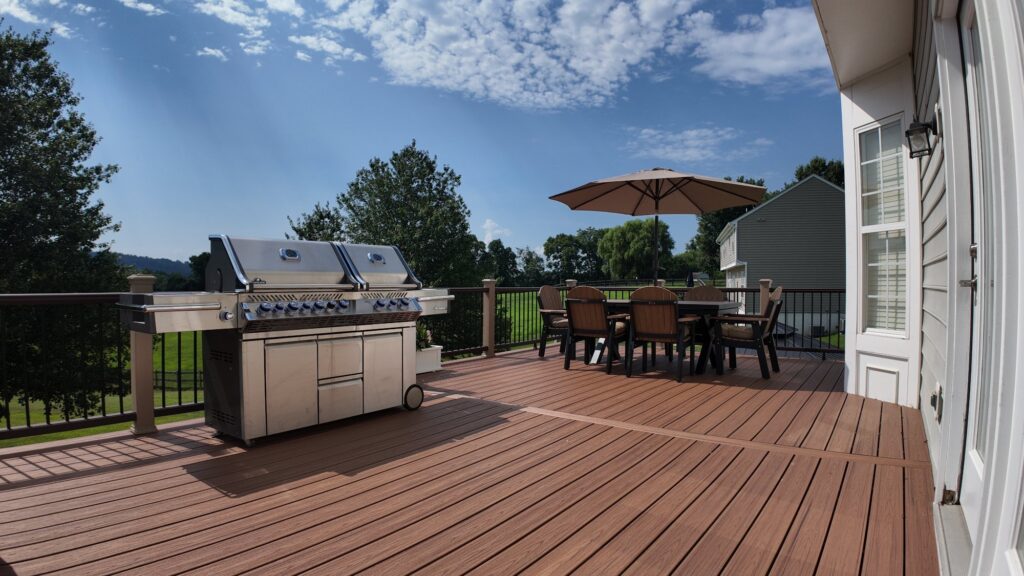
The hot zone anchors everything. Give the grill at least 12 inches of landing counter on one side and 24 on the other, keep it out of traffic lanes, and study the prevailing breeze so smoke drifts away from the table instead of across it. The cold and dry zones want to sit between the hot zone and the house, so prep, plates, and the walk for forgotten tongs all flow naturally.
Distance from the back door is the make or break number. Kitchens more than 20 or 30 steps from the indoor fridge get skipped on ordinary weeknights, and weeknights are where the value lives. An L layout along a deck or patio edge keeps the cook in the party. Islands work beautifully when there is room to circulate around them.
Utilities Come First, Not Last
Run the infrastructure before anything pretty happens. A buried natural gas line ends propane tank runs forever and costs the least while trenches are already open. Electric should be a dedicated GFCI protected circuit or two, because a fridge, lighting, and a blender pull more than one outdoor outlet was ever meant to share. If you want a sink, plan the drain path and a shutoff you can reach.
Then plan for January. Every water line in a Winchester outdoor kitchen needs a proper winterization path, an interior shutoff and a slope that drains, or the first hard freeze will find the weak point. Lighting rough in belongs in this phase too: task light over the grill and counters, ambient light for the table, all switched where the cook stands. Utilities are invisible in photos and dominant in daily use.
Choose Materials That Can Live Outside
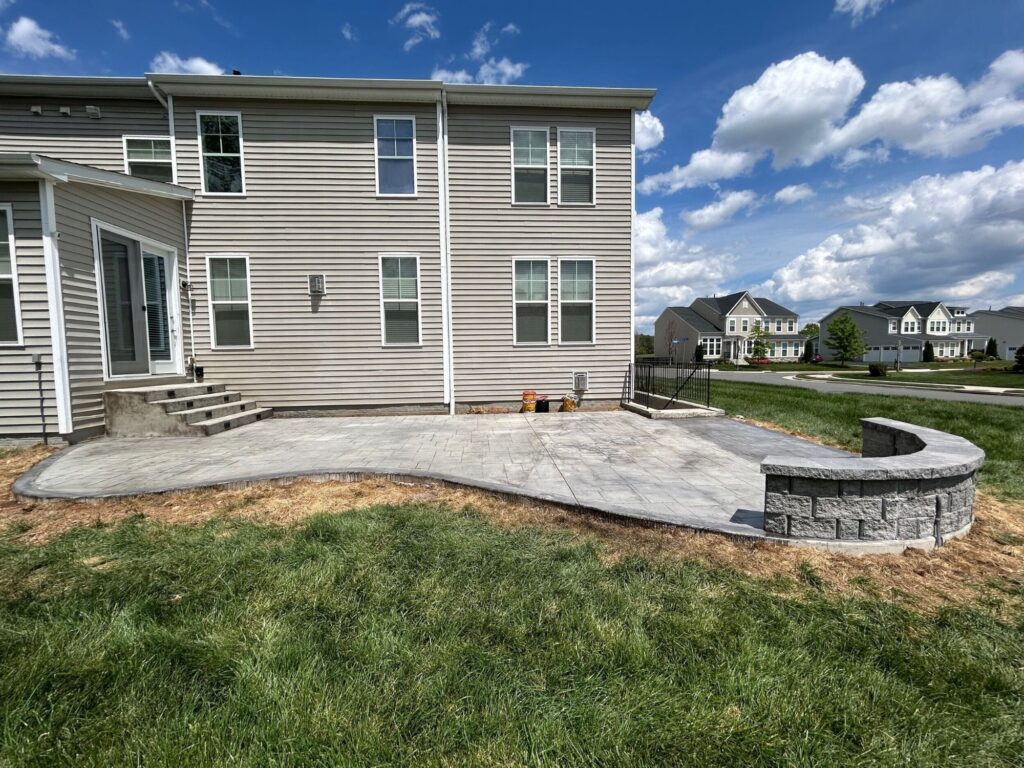
Outdoor rated is not marketing language, it is the difference between appliances that last and appliances that rust. Look for 304 stainless steel on grills, doors, and drawers, and buy an outdoor rated refrigerator specifically, because indoor units fail fast in humidity and cold. For counters, granite and sealed concrete handle Valley freeze thaw cycles gracefully. Structures of masonry block with stone veneer, or aluminum framing systems, hold up better than wood cabinetry pretending to be waterproof.
Cover changes everything about how much you use it. A roof, a pavilion, or a louvered pergola over the kitchen turns rain delays into non events, shields appliances from the worst weather, and makes an October cookout with the game on feel intentional instead of brave. If the budget forces a choice, shade and shelter beat a second burner every time.
Budget Ranges and Smart Phasing
Around Winchester, a well built grill island with counters, storage, and utilities typically runs $10,000 to $25,000. Full kitchens with refrigeration, a sink, stone construction, and a roof or pergola commonly land between $30,000 and $75,000, and elaborate covered builds go beyond that. The spread is wide because the choices are, which is exactly why the plan comes first.
Phasing keeps the dream and the budget in the same room. Pour the slab, trench the gas and electric, and build the core island now, then add the pergola, the bar seating, or the pizza oven in a later season without demolishing anything. Permits apply to the gas, electrical, and structural work here just as they do indoors, and footings for any roofed structure need to reach below frost depth. Money spent on conduit and stubbed lines today is the cheapest future proofing you will ever buy.
Bottom Line
Plan the zones, bury the utilities first, buy genuinely outdoor rated equipment, and put a roof in the conversation from day one. Do that and an outdoor kitchen stops being a summer novelty and becomes where your family eats from April to Thanksgiving. Stoneridge Decks & Outdoor Living designs and builds outdoor kitchens across Winchester and Frederick County, and can turn your yard, your habits, and your budget into a plan worth building.
Related reading: Deck Resurfacing or Full Rebuild: How to Tell What Yours Needs, Louvered Pergolas: Shade That Adjusts to the Shenandoah Sky


